
Have you ever wanted to record your screen while working on a project or sharing information with someone? If so, you are in the right place. Here we will teach you everything you need to know about how to record the screen of your computer or mobile device.
You’ll learn how to record your computer or mobile screen, what tools are best for doing it, and how to edit your recordings once you’ve created them. Whether it is to create a tutorial, a presentation, a gameplay video or just to save a backup of your work, screen recording is a tool that will come in handy for you.
In addition, we will also show you some tips and tricks that will help you make your recordings more professional, so that you can impress your followers or your friends. So, don’t wait any longer, keep reading and discover how to record your screen in a few steps.
How to Record Screen in Windows 10: Complete Guide
Recording your computer screen can be useful for multiple purposes, from creating tutorials to recording video calls. In Windows 10, there are several ways to do it, and here we explain them all.
Use the Windows Game Bar
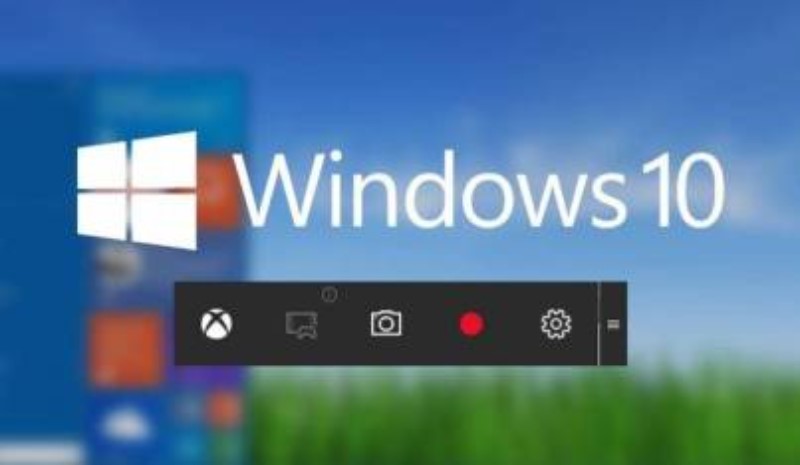
Windows Game Bar is a tool that is integrated into the operating system and that allows you to record your computer screen without the need for additional software. To turn it on, just press Windows Key + G and follow the prompts.
Use the Xbox Game Bar app
The Xbox Game Bar app is also integrated into Windows 10 and allows you to record your computer screen, as well as take screenshots and live stream your gameplay. To access it, you just have to press the Windows + G keys, and then click on “Settings”.
Download third-party software
There are various third-party software options that allow you to record your computer screen on Windows 10. Some of the most popular are OBS Studio, Camtasia Studio, and Bandicam. Each one has its own features and prices, so make sure you choose the one that best suits your needs.
Record Screen on Mac: 3 Different Ways

If you are a Mac user and need to record your computer screen, you are in luck. macOS has different options that will allow you to perform this task easily and quickly. Here are three different ways to record screen on Mac:
Use QuickTime’s built-in recording feature
QuickTime is an application that comes integrated into macOS and that, in addition to playing videos and audios, also allows you to record the screen of your Mac. To use this function, follow the steps below:
Step 1: Open QuickTime Player from the Applications folder or using the Spotlight browser.
Step 2: Select “File” on the top bar of the screen and click on “New Screen Recording”.
Step 3: A new window will open with recording options. You can select whether you want to record the entire screen or just a part, as well as turn the sound on or off.
Step 4: Click the record button and start recording. To stop recording, press the record button again or use the keyboard shortcut “Control + Command + Esc”.
Use the Record application
Record is an application that comes pre-installed on your Mac and that will allow you to easily record your screen. To use this app, follow the steps below:
Step 1: Open the Record app from your Applications folder or using the Spotlight browser.
Step 2: Select the “Display” option on the application toolbar.
Step 3: Click the record button and start recording. To stop recording, click the record button again or click the app’s menu bar.
Use a third-party app
There are different third-party applications that allow you to record the screen of your Mac. Some of the most popular are ScreenFlow, Camtasia, and OBS Studio. These apps offer advanced video recording and editing options, making them ideal for users who need to create high-quality content.
How to record screen on Android: complete guide

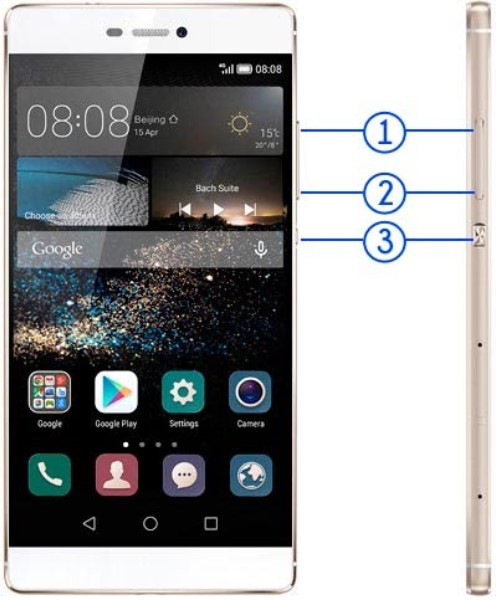
Currently, recording the screen of a mobile device has become a very popular task due to the growing trend of sharing multimedia content on social networks and streaming platforms. If you are an Android user and want to record the screen of your mobile device, here is how to do it:
How to record screen on Android without application
To record the screen of your Android mobile device without installing any application, you simply need to follow the steps below:
Activate the developer option on your mobile device.
Access the developer options in the Settings menu of your mobile device and activate the “Screen recording” option.
Hit the screen recording button in the Settings menu and start recording your screen.
How to record screen on Android with application
If you prefer to use an app to record the screen of your Android mobile device, there are several options on the Play Store that you can download, such as DU Recorder or AZ Screen Recorder.
In summary, recording the screen of your Android mobile device is a simple and accessible task for any user with multiple options available both with and without an application.
How to Record Screen on iOS 13/14/15 of iPhone and iPad
Recording the screen of your iPhone or iPad is very useful, whether it is to share your games, videos or tutorials with your friends. In iOS 13, Apple has included a native screen recording tool. Therefore, there is no need to download third-party applications.
Activate screen recording in iOS 13/14/15
To turn on screen recording on iOS 13/14/15, follow these steps:
Step 1: Go to Settings.Step 2: Select Control Center.Step 3: Tap Customize controls.Step 4: Scroll down until you find Screen Recording. Press the green add button.
Once you’ve added screen recording to Control Center, you’re ready to start recording your screen. Simply swipe up from the bottom of the screen to open Control Center and tap the screen recording icon.
Other features of screen recording in iOS 13/14/15
The native screen recording tool in iOS 13/14/15 offers other additional features:
Microphone: You can record audio while recording the screen.Resize: You can choose to record the entire screen or just a part of it.Finish: You can stop recording at any time from the Control Center.Keep: The recording is automatically saved in the Photos app.
How to record your PC screen: 7 programs and applications
If you need to record your computer screen to do a tutorial, teach a friend a specific use of a program or simply to record an online meeting, here are the best options to do it on different operating systems.
obs studio
OBS Studio is one of the most popular free screen recording apps for Windows. With this tool you can also easily record your favorite games, stream, record webinars and online presentations. In addition, it allows you to adjust the quality of the recording and edit the video later.
camtasia
Camtasia is a paid application that offers multiple features for screen recording on Windows. With this tool you will be able to record your computer screen and edit the video later. It also offers options to add special effects, transitions, and music.
QuickTime Player
QuickTime Player is a great option for Mac users. This application includes a screen recording tool that is very easy to use. Also, you can adjust the quality of the recording and export your videos in different formats.
ScreenFlow
ScreenFlow is another of the most popular applications to record the screen on Mac. With this tool you will be able to record your computer screen, do video editing, add special effects and export your videos in different formats.
A-Z Screen Recorder
For Android users, AZ Screen Recorder is one of the most popular options to record your device’s screen. This app is very easy to use and does not require root access. In addition, it allows you to record in different resolutions and adjust the recording speed.
DU Recorder
Another excellent option to record screen on Android is DU Recorder. With this tool you will be able to record videos in high quality and adjust the recording speed. It also allows you to add music and subtitles to your videos, as well as edit them later.
Apowersoft Screen Recorder
Apowersoft Screen Recorder is one of the most popular iOS screen recording apps. With this tool you will be able to record the screen of your iPhone or iPad, add audio and later edit the video. In addition, it allows recording in different resolutions and formats.
Ultimate Guide to Record Your Computer Screen Using VLC

In this guide, we will teach you how to use VLC player to record your computer screen. VLC is a very useful and versatile tool that not only allows you to play different video and audio formats, but also to record your screen. Next, we will explain step by step how to do it.
Requirements
Before you begin, you will need to have the latest version of VLC installed on your computer. You can download VLC for free on its official website. In addition, you will also need to have a good internet connection and enough storage space on your hard drive to save the recorded videos.
Step by Step
Open VLC and click on “Media” in the toolbar.
Select “Convert/Save” from the dropdown menu.
In the “Open Media” window, select the “Capture Device” tab.
In the “Capture Mode” dropdown menu, select “Desktop”.
Select the desired frame rate in the “Options” section.
Click “Convert/Save”.
In the “Convert” window, select the “Save” option and choose the desired file format.
8. Name your file and choose the location where you want to save it.
9. Click “Get Started”.
Conclusion
Now that you know the process of recording your screen using VLC, you can start creating your own video tutorials, demos, or even record online meetings and classes. VLC is a very useful and easy-to-use tool that will allow you to record your screen activities quickly and easily.
How to record screen in Zoom: record meetings and classes online

Introduction: In these times of online education and work, it is important to know how to record online meetings and classes so that you can review them later or share them with others. In this section we will explain how to record the screen in Zoom, one of the most popular applications for video conferencing.
7.How to record a meeting on Zoom
In order to record a meeting on Zoom, you need to be the host of the meeting or have recording permissions granted by the host. Once in the meeting, the following steps must be followed:
- Click on the “Record” button that appears at the bottom of the screen.
- Select whether you want to record the meeting locally on your computer or in the Zoom cloud.
- Start recording.
- End recording at the end of the meeting.
7.How to record a class on Zoom
The process for recording a class on Zoom is similar to recording a meeting. However, it is important to note that in some cases it is necessary to have additional permissions from the host or the educational institution. In addition, it is recommended to inform students that the class will be recorded and obtain their prior consent.
7.Tips for recording in Zoom
Some tips for recording on Zoom effectively are:
- Check that you have enough space on your hard drive or in the Zoom cloud to store the recording.
- Set the recording to include both audio and video of the meeting or class.
- Avoid moving the camera or microphone during recording to avoid interruptions or annoying noises.
- Check the quality of the recording before sharing it with others.
